by Michael Tyler of CarveBuddy.com
Some friends of mine recently asked me to help create a logo for a new business they are opening, which I gladly agreed to do for them. They wanted a rectangular logo appropriate for the simple, country-style of their Small Town Market.

I created the logo using CorelDRAW, in compliance wih the family’s design requests. An EPS version of the design was emailed to a commercial sign maker for the outdoor signs to be made using highdensity foam board and finished with exterior paints. They came out very nicely!
Although my friends were very pleased with the foam signs, they asked if I would carve a “real wood” version of the sign to be hung indoors over the customer service counter. This sign would be seen as customers walked in the main entrance. I said, “Yep, I’ll do it!” This is my personal account of how I created a 19.5″ wide x 53″ long sign with my CarveWright machine. This method is very straightforward but is not the only way to create large projects. However, I want to share what I did, hoping it may help you do something similar if you ever need to.
Main items I used:
- Two Project Files:
- Bottom_Half_Small_Town.mpc
- Top_Half_Small_Town.mpc
- Two Project Boards (Select Pine): ¾” thick x 11¼” wide x 60″ long
- Wood scraps for backside bracing .
- Clamps, sander, jig saw, radial arm saw, table saw, band saw, drill and bits
- Wood screws, glue, stain, paint and clear finish
- A Dremel-type rotary tool with assorted sanding wheels and bits to sand small details and speed up preparation for finishing.
STEP 1 – Layout
Large projects need to be split up into parts that will be glued/assembled to create the final desired dimension. My sign project only needed to be divided in half (lengthwise) so it needed just two separate mpc’s – one for the top half and one for the bottom half. I had already created the overall design in CorelDRAW, so I used my existing graphic and imported it into the Pattern Library as a pattern. Of course, this and most other sign layouts can be laid out entirely within the Designer software. (It was just quicker for me to use what I had already done.)
I created a new project with a virtual board size of 11″ x 52.75″. My sign pattern was only about 8″ x 22″ so I enlarged it by selecting the pattern and typing in 19.5″ for the total width of the sign. This gave me a sign size of 19.5″ wide x 52.458″ long. Obviously, this is too large to fit on my virtual board! (fig. 1a)
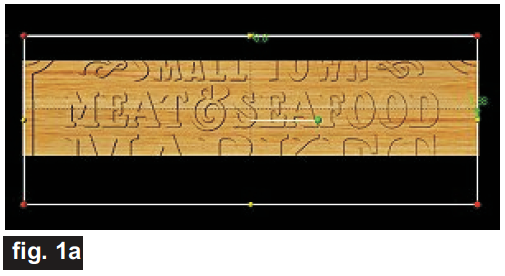
My layout board is only large enough to fit each half of my full size sign, with the “excess” going off the board. I will carve the sign in two sections (top and bottom halves). Each half needs to be even with the board’s edge of two layouts (i.e., two separate mpc’s).
This was easy to do. First, I used the “Center” function and selected “Center Horizontally” so the pattern was centered side-to-side. This way I could freely drag the pattern up and down without fear of losing centering on the board from side-to-side.
I then turned on the “Snap” function with snap interval set at .5″, and Snap Objects to Grid and View Grid activated. (fig. 1b)
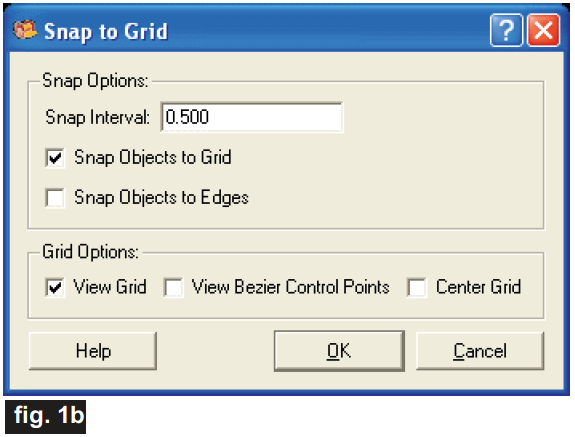
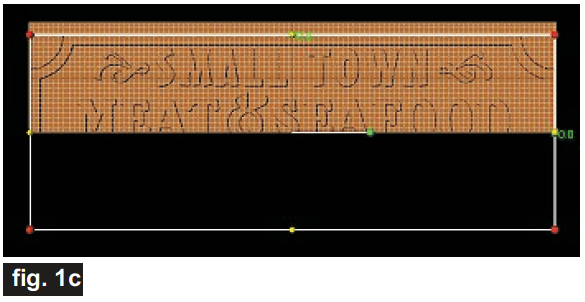
When a pattern is selected, there are four red “balls” at each corner and two yellow “balls” located at the precise horizontal center of the pattern and two more at
the vertical center. With the snap feature activated, the pattern will lock to the center yellow balls at the edge of the board when dragged near that position. I simply dragged the pattern so that the top half of the sign was on the board and the bottom half was extending off the bottom of the board. (fig. 1c) I saved this as “Top_Half_Small_Town.mpc”
I then dragged the pattern so that the bottom half was on the board and the top was hanging off the top of the board. (fig. 1d) I saved this as “Bottom_Half_Small_Town.mpc”
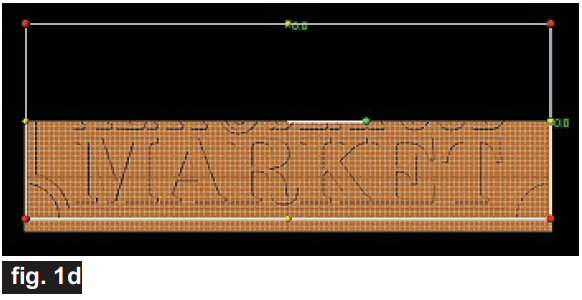
Again, the Snap function assured that I had exactly half of the sign on the board. (The yellow balls indicating the precise halfway point are “snapped” to the grid line at edge of the board when dragging up/down.)
NOTE: Anything that overhangs off the layout board is ignored by the software when the project is actually run. Only the visible part that is actually on the layout board is calculated for carving and/or cutting.
STEP 2 – Running the Project
I uploaded the two mpc’s to my memory card and placed one of the .” thick x 11.” wide x 60″ long boards into the machine.
NOTE: The project layout was 52.75″ long, so the board needed to be at least 7” longer than that to stay under the rollers (53+7=60).
I take my time when placing a board into the machine. The board must have parallel edges (NO taper!) and must sit squarely against the stationary squaring plate/guide in the machine. In addition, the sliding plate must not be pushed excessively hard against the board, otherwise binding could occur and spoil the project and/or damage the traction belts. (I use two playing cards as a spacer when pushing the sliding plate against the board.)
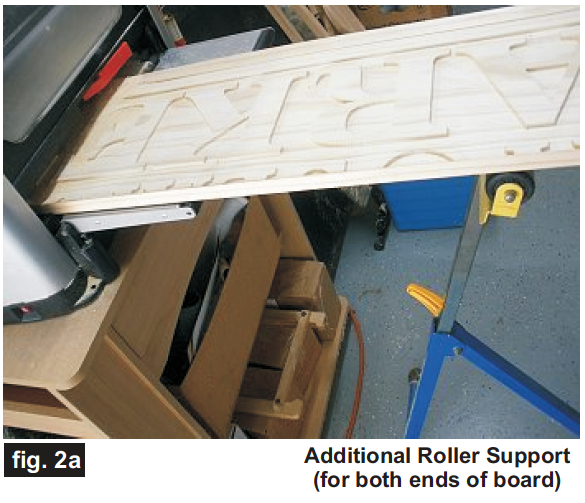
Running a long project board (over 3 or 4 feet long) makes it necessary to pay some extra special attention to the project prior to running it. The built-in outfeed support tables are not enough to support a long board for proper tracking. Additional support is required. I used two free-standing roller stands and carefully positioned them so that the weight of the board would be supported and were perfectly in-line with the built-in outfeed tables as the board was fed through both ends of the machine. The additional roller supports must be placed perpendicular to the board so that they don’t have any tendency to allow the board to track “off kilter” as the board is feeding through the machine. Care taken at this stage is essential. (fig. 2a)
I ran both mpc’s. Each one took about 6 hours and 45 minutes on the “Best” setting. A side note – during the second mpc run, we had a severe thunderstorm come into our area about an hour before the mpc was finished. I stopped the machine and unplugged it. Sure enough, about 15 minutes later, we lost power and it stayed off for about two hours. When the power was restored, I re-did the mpc with a “zero” carve region placed over the previously carved area and reloaded
the project. At first I got an error on board width and realized it was because the board sensor was fooled by the previous carve. I simply placed masking tape over the area where the board sensor would pass, got a good reading and proceeded to finish the project from where it left off. Whew!
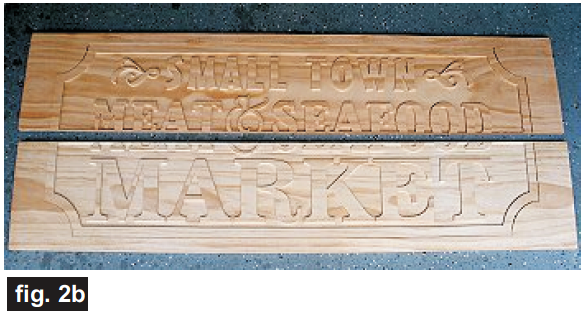
Here’s what the boards looked like after coming out of the machine. (fig 2b)
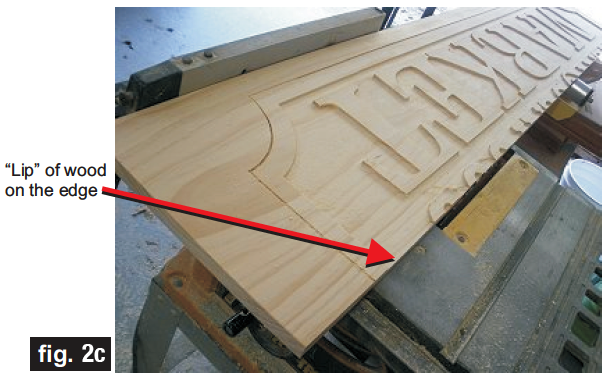
On the edge where the patterns overhang off the board, there is about 1/16″ or so of wood that the machine automatically leaves behind along the edge. This is intentional so the pressure rollers will remain in contact with the board at all times throughout the project run. I used my table saw to trim this “safety” lip off the edge. (fig 2c)
STEP 3 – Final Cut Out of the Project
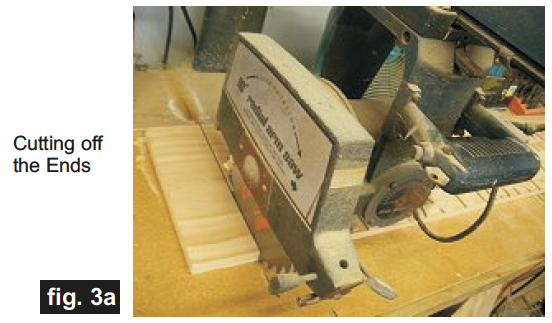
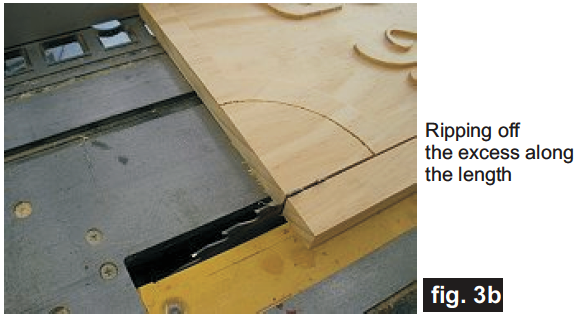
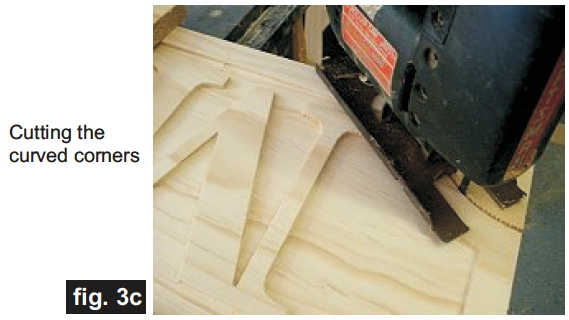
I did not design the project for the machine to do any cut outs – – only the carving. Since most of the sign cuts are straight cuts anyhow, I did the straight trimming on my radial arm saw and table saw, then I cut the curved corners with my jig saw. This saved quite a lot of time by using my other tools to do the final cut out. If this had been a project with an irregular shape, I would have set it up for the CarveWright machine to do the cutting for me. (fig 3a, 3b, 3c)
STEP 4 – Assembly
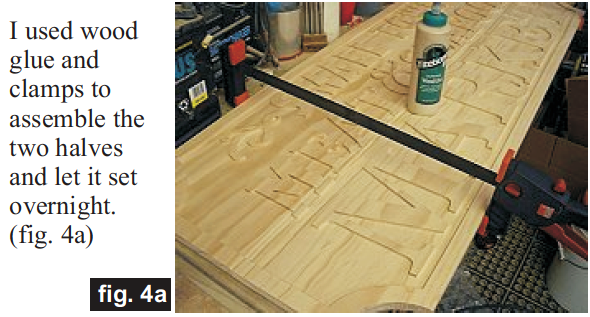
I used wood glue and clamps to assemble the two halves and let it set overnight. (fig. 4a)
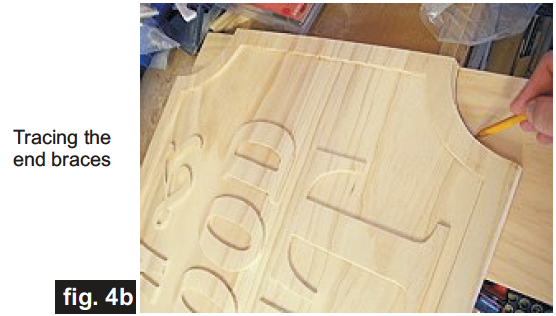
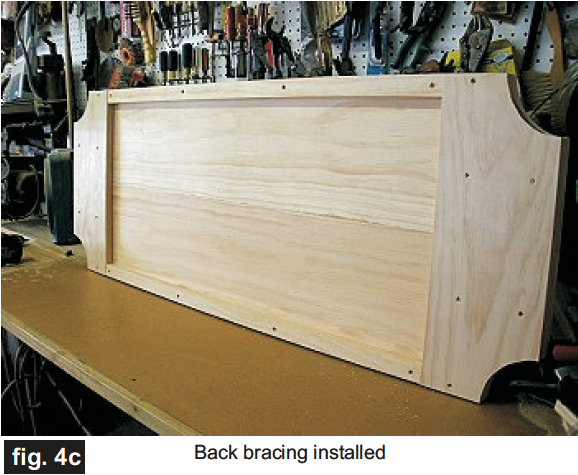
I traced the outline of each end and cut end bracing from scrap lumber and cut them out with my band saw. I used two of the scrap strips of wood I trimmed off earlier for bracing along the length of the sign. The braces were attached with glue and countersunk brass woodscrews. The bracing serves to prevent the sign from warping and give the illusion of “thickness” without adding a lot of extra weight. (fig. 4b. 4c)
STEP 5 – Finishing
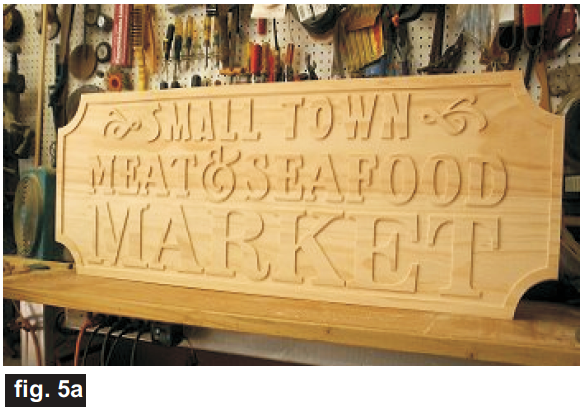
I sanded the sign using my rotary tool to reach into tight areas of the lettering, and used a power sander for the flat parts to prep for the finish application. (fig. 5a)
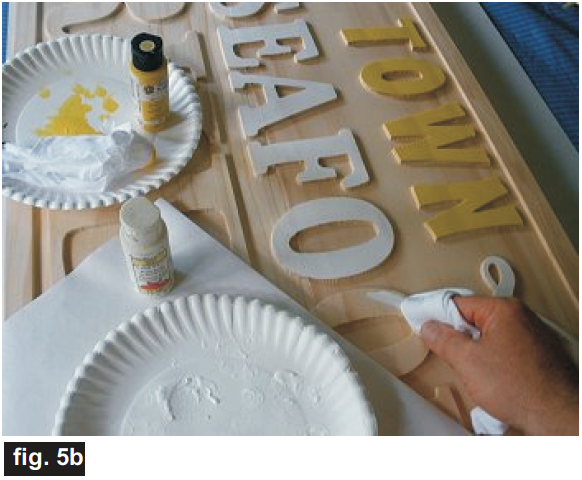
Using the colors of the logo as a guide, I applied acrylic paint using a rag wrapped around my finger and rubbed/wiped paint on the lettering, except the word “MARKET” – I applied orange shellac instead of paint.
Wiping/rubbing the paint allows some of the grain to show through the lettering and makes for an “aged country” effect. (fig.5b)
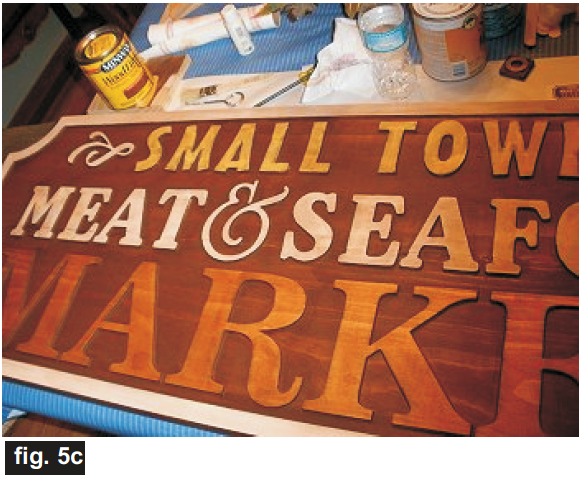
After the paint and shellac were dry, I then applied Minwax English Chestnut oil stain over the entire sign and wiped it off with a rag. This made the sign look like it had been around awhile! (fig. 5c)
Finally, I applied three coats of Minwax water-based polycrylic and delivered the sign to the store! My friends were thrilled with the result and how it matches the overall decor of a charming country market. I would have included a final photo of the mounted sign, but even though the store is just two weeks away from opening at the time of this writing, the sign hadn’t been mounted yet.
I hope this description of my Big Sign project has been helpful for you. If you decide to make a large format project, your CarveWright is a “can-do” machine that can help you make just about any project you can imagine!
