Find a printable version of this in the RAVEN User’s Manual
For input and display of information the RAVEN machine employs a tactile keypad
and LCD display. The layout of the keypad is shown below.
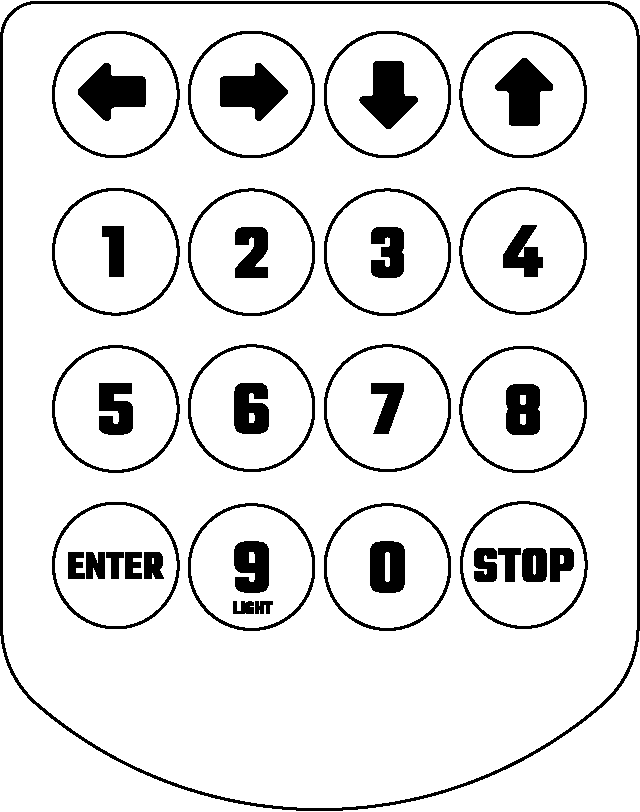
Use the keypad arrows to navigate the menu structure. Browse the top menu by using the LEFT-RIGHT ARROWS to scroll and press the ENTER button to make a selection.
When a subsection is displayed, browse the menu options with the UP-DOWN ARROWS on the keypad. To return to a previous screen, press the STOP button.
To turn on and off the LED light inside the machine hold the “9” button.
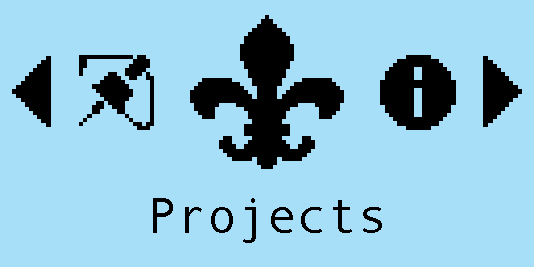
Projects Menu
This displays the projects that have been saved to the USB drive for carving with the RAVEN. This menu will be further explored in the Project Setup Section
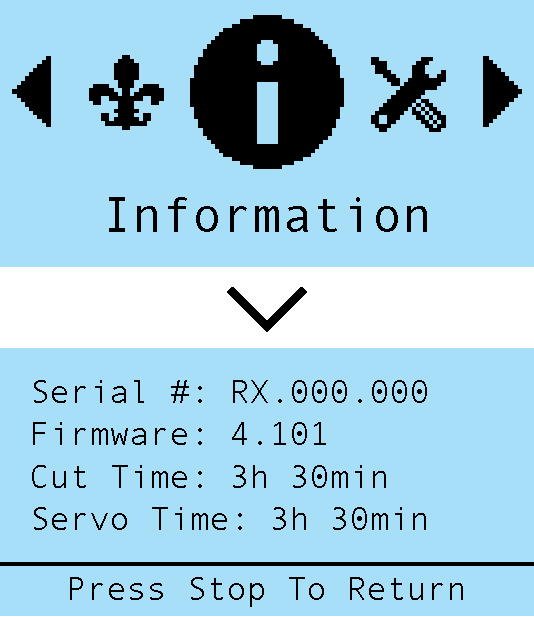
Information
The information selection displays all the pertinent information about your RAVEN machine. This information will be needed when contacting support to help the technician understand the machine.
The information it will display:
- Serial #
- Firmware version
- Cut motor time
- Servo time
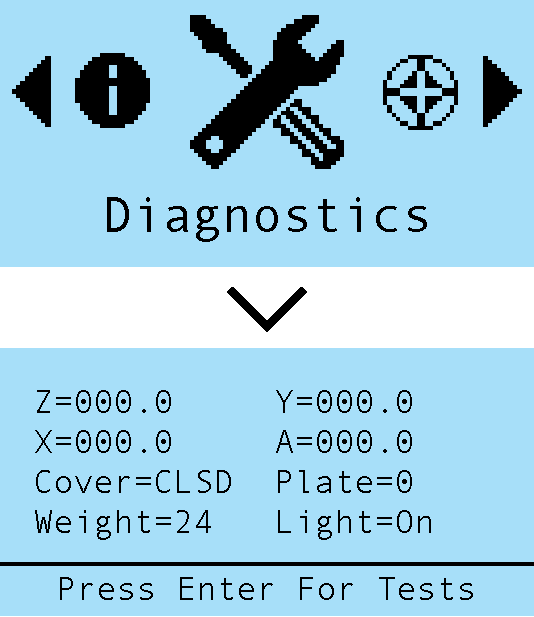
Diagnostics
The diagnostics selection displays the state of the RAVEN’s sensors and motors. This screen can show you if anything is not reporting information properly and it leads to another menu where you can test the components.
The tests available:
- Test Z
- Test Y
- Test X
- Test Cut Motor
Calibration
RAVENs are pre-calibrated at the factory and it is unlikely that a machine will require further calibration, but some calibrations are included that may be used at some point.
The Calibrations available:
- Zero Weight
- Set Weight
- Touch Plate
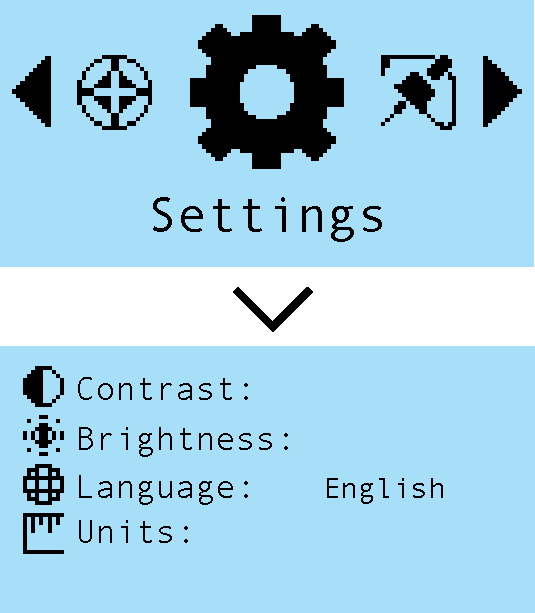
Settings
The settings menu allows for the user to make adjustments to their RAVEN.
The Settings available:
- Contrast
- Brightness
- Language
- Units
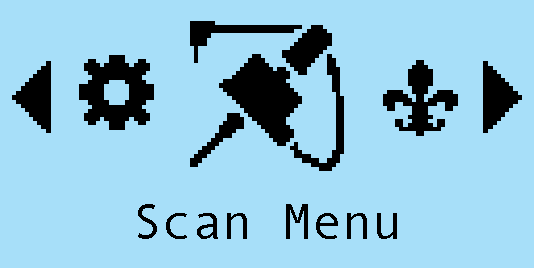
Scan Menu
The scan menu is for setting up the scanning probe. See a more detailed description of the scan menu in the Scanning Probe manual.